Showing posts with label craft a day project. Show all posts

Sunday, April 3, 2011

Craft project 3: Embroidered Rainy Scene

Hi and welcome back to another fabulous day of craftiness!
Today you'll be making a beautiful scene of a cloud, rain and sunshine.
Hopefully this will encourage you to think of the positive, like:
"Oh, there is ALWAYS sunshine after the rain!".

Today you'll need:

  • wooden embroidery hoop (you will also use this for the frame, so paint it a different color if you want it to stand out!!!)
  • good quality calico (preferably cream or white but I guess blue would do)
  • blue, gold/yellow and white embroidery thread (I'm using a bright blue (number DMC 3845) and a yellow (number 725))
  • pincushion WITH pins
  • sewing and paper scissors
  • gold or silver shiny fabric for the cloud
  • needles
  • this easily downloadable pattern (I'm afraid there is only a cloud, you'll have to invent your own scene for individuality! that's the challenge!)
What to do:

*I advise you to have a read through before going ahead, it will get you familiar with what you're working with!*
Also, this is only a simple set of instructions. You can adapt on it in any way, like making your cloud different colors, or stuffing it for some examples! Oh, or you could make it have a cute kawaii face?

loosen the embroidery hoop, take the middle hoop out, fit your fabric (calico) in, put the inside hoop back in and tighten the hoop!


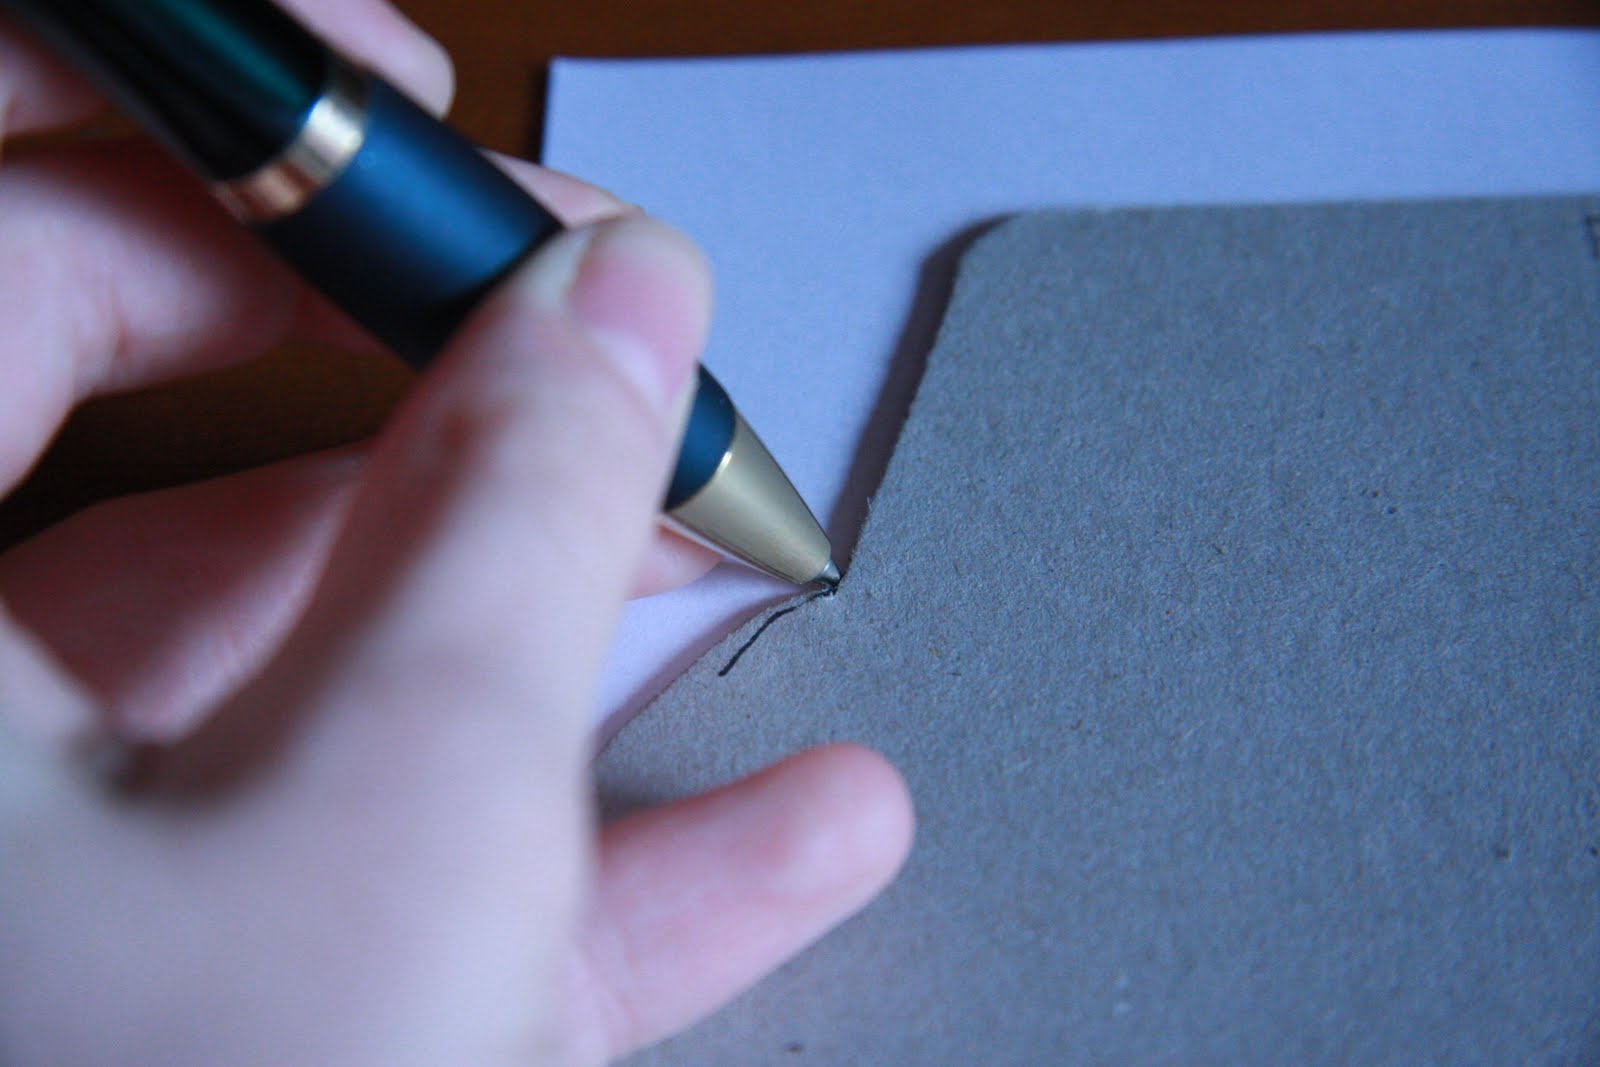
print out the cloud and cut out using your paper scissors. if you use your fabric scissors on paper, you will make the edges blunt. after cutting it out, pin it onto your sparkly silver or gold fabric

and now cut THIS out!!!. pin onto your calico

embroider around the outside. a suggestion to make it even more fabradical is to sew it with sparkly silver or gold thread for the added 'positive silver lining' touch


when finished take the pins out and say to yourself, "tada!". get your yellow/gold embroidery thread out and embroider your sun (and your rays if you feel like it. I also added a cute little smiley face!)

now grab your blue embroidery thread and sew some pretty, long raindrops! i am also going to put some sequins on now as well!


Now you are finished!!!!
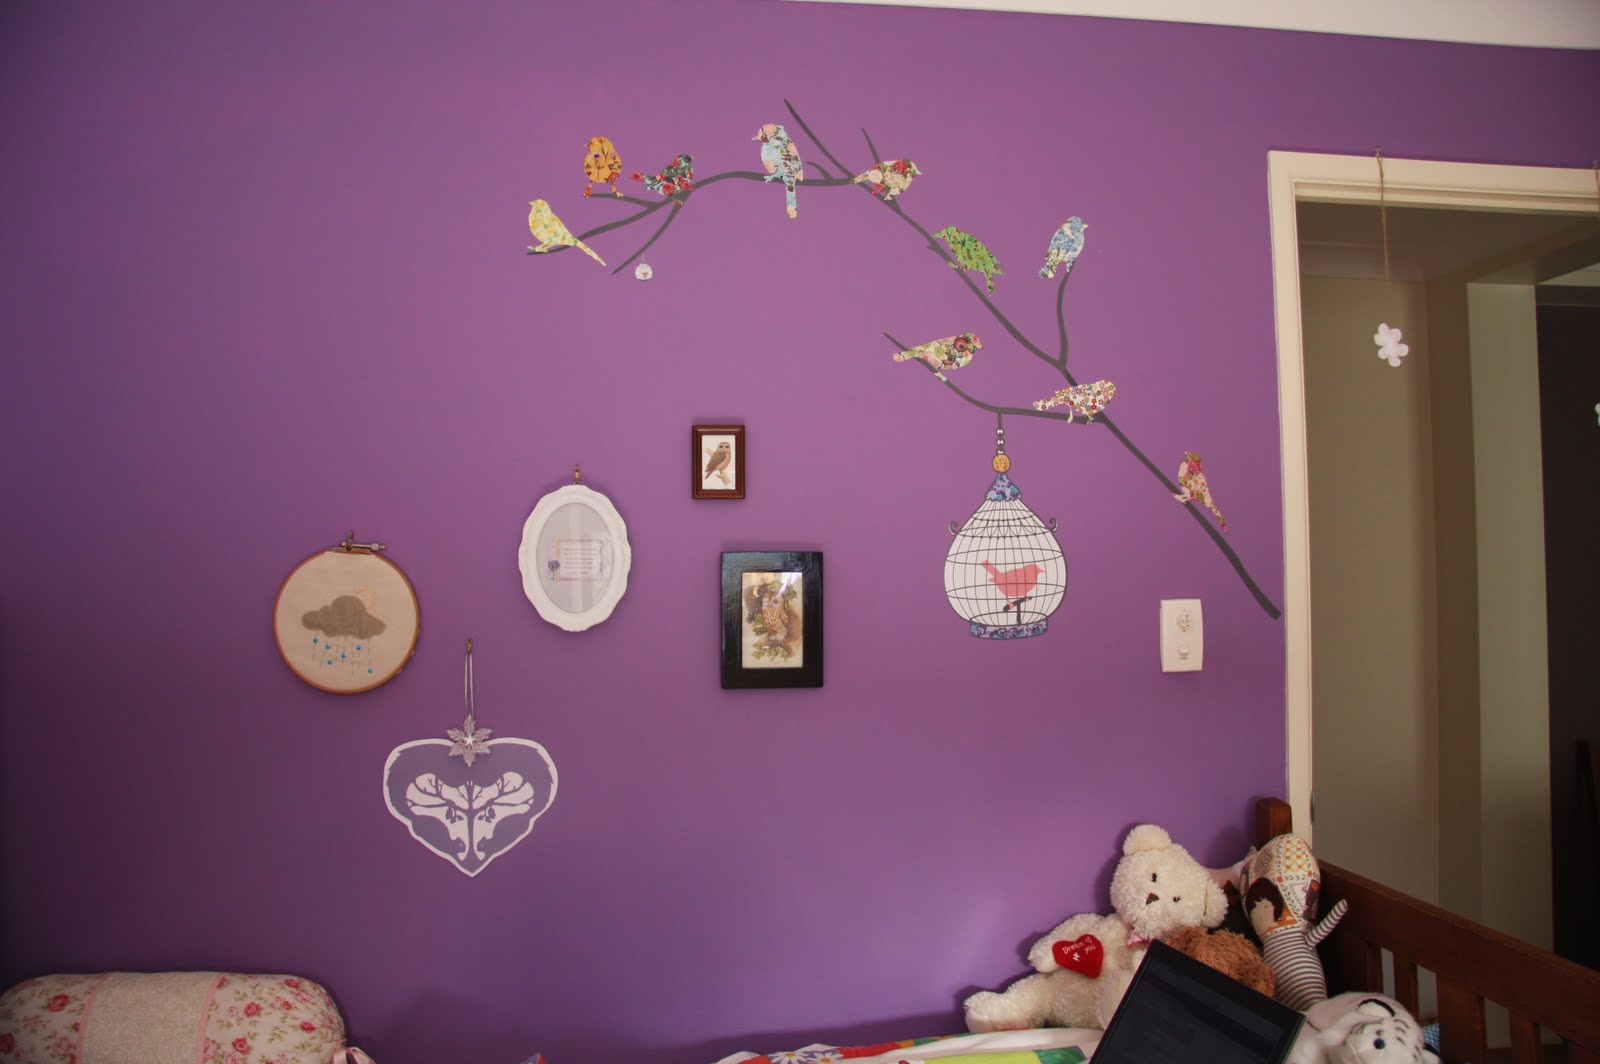


By cerfchouette
[Continue reading...]

Saturday, April 2, 2011

crafty projects

I'm afraid I may not be able to do a whole month of daily craft projects for you.
I have advertised and yet nobody will guest post unfortunately.
I am a working young lady now, and that takes up my time.
I wish to make all my readers happy, and yet I cannot make myself happy.... simply because having to make crafty projects for you every day, for a month with hardly any responses from you means that it makes me a bit stressy!
Sorry for you all, I know of only two people out there who are reading this, both who are looking forward to this wonderful month of craftiness. My apologies, dear friends.
Sorry.
[Continue reading...]

Craft project 2: Collaged envelopes

Welcome again to another day of crafty challenges!
You are welcomed to participate in todays crafty challenge:

Collaged envelopes!

I often make these for friends, especially those who live overseas.
These special decorations are beautiful gifts for others (if you make a pack) and also great for a special surprise! All your friends will be like, "wow, I wonder where she/he bought this from??"

Ok, so here's the basics

Materials

  • downloaded, printed and cut out copy of an envelope template
  • paper
  • stickers
  • thread
  • double sided tape
  • fabric
  • sewing machine (if you want to sew your envelope together)
  • ideas (from here) (this book is great for ideas too!)
  • art markers (felt tip pens, pencils and fine tipped pens)
What to do

  1. Get your materials ready! I used an old flimsy cartoon that I got at lifeline, my Cath Kidston stickers and all sorts of other things!


2.Stick down all your elements, trace out the envelope and cut!!!

3. I advise you all to stick one piece of paper on to another if the first was flimsy (remember it has to go through those custom things).


4. Now fold and stick your sides together and admire your work! Of course, it would be a great idea to send it someone special too!


Today's post was by cerfchouette
Thanks for making today's project! Tomorrow there will be a completely knew one to try out! If you have taken any amazing photographs of todays project or if you have not already joined, please join my flickr group!
Love,
Bella


[Continue reading...]

Friday, April 1, 2011

craft project 1: Raindrop garland

Yay! The big project I've been planning is finally starting!
Hoorah!
If you haven't joined it yet, please do so through commenting and adding yourself to my flickr group, where we'll discuss and post up pictures of your craft a day fun! Unfortunately, I haven't received many helping bloggers to do a guest post for me. So I am having to do a month of crafty projects by myself. If you would like to do a blog post (I'm needing some people to do one while I'm on Easter holidays) please leave a comment and I will email you! Thanks!

Craft a day project 1: Raindrop Garland
By cerfchouette

Materials

  • paper
  • raindrop template
  • scissors
  • double-sided tape
  • ribbons and decorations
  • sewing machine
  • bobbin
  • thread

How-to:

1. prepare materials:


2. Cut out the shapes and pin onto fabric and/or paper. You will need one shape for the front and back, unless you've got double sided paper


3. Cut out the shapes from the materials


4. Sew in a straight line down the center to create a bunting, leaving gaps in between to put ribbon etc. onto it
5. Once you're done, add flourishes of your own creativity, such as cute embroidered faces, ribbons, buttons, sparkles -- whatever takes your fancy!


written by cerfchouette
Now just go ahead and try to make this creatively! Post up your pictures on my flickr group (scroll up for the link!)


[Continue reading...]

Blogger news

Letter Writers Alliance

About